Watermaker Review
SV/ Nemetona
Beneteau 473
SV/ Nemetona
Beneteau 473
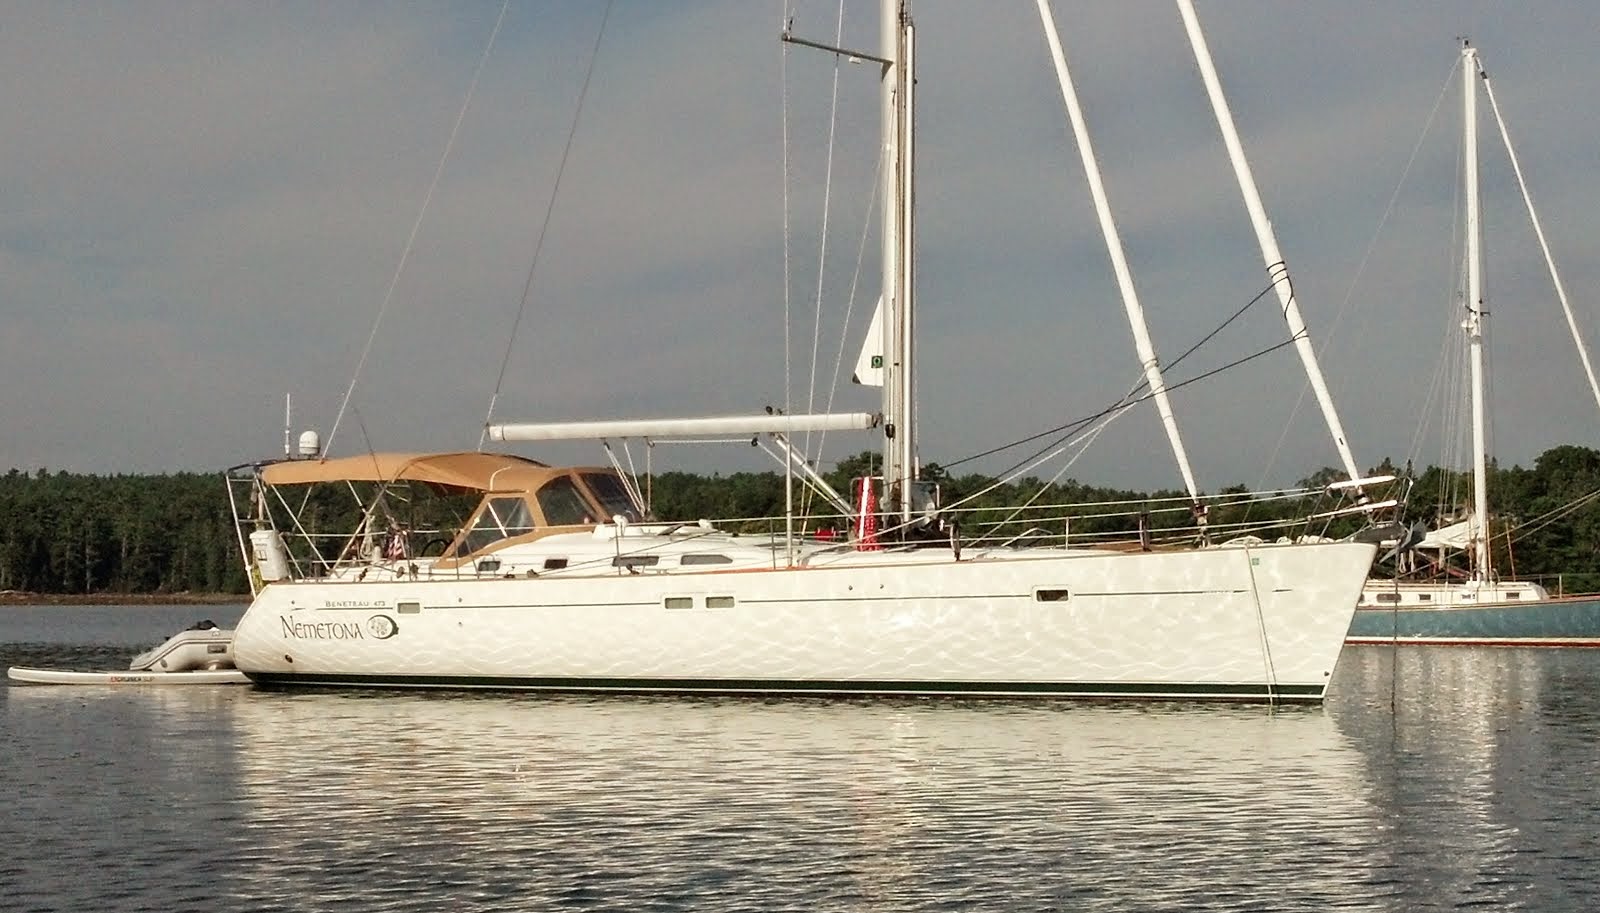 |
| Sommes Harbour, Maine, 2014 |
Internet research and talking with friends in 2014 lead me to Rich Boren and Charlie Hammel at Cruise RO Water and Technautics. I was looking for a watermaker to use on our boat during a year long trip that would take my family and I from Portsmouth RI as far south as Grenada and back.
A close friend of mine had just completed the same trip with his family and they felt the watermaker was a pretty nice piece to have. Unfortunately for him, he did not have anywhere near the prep time I had to pull his trip together and ended up purchasing his watermaker a month before he was due to leave. Sadly he had a really rough experience with another company, and long story short he received the watermaker the day before they left for the BVI’s. Three frustrating months later he had it up and running. After hearing his tales of woe, I was hell bent on getting mine well ahead of time and having the time to get comfortable with it before heading South.
Around November of 2014 I purchased my SMS 30 from Rich and Charlie. Right from the get go these guys were a pleasure to deal with. Rich walked me through the various options until I was completely comfortable with what I was purchasing.
We have the luxury of an 8kw Westerbeke Genset onboard, and this gave us plenty of power to run the SM30 unit. I toyed with the idea of going to the larger unit, but Rich convinced me that the 30 would be just fine….and obviously it was cheaper also…bonus!!!
Its 1 hp high pressure motor only draws 9.3 amps, so there was the potential to run it without the generator, thru the inverter with the engine running should something go amiss with the generator.
I diligently read the manual over the winter months and planned out my installation. The nice part about this system is that it is completely modular and you have the ability to install some of the larger parts in different places to optimize the use of space…which always seems hard to come by on a cruising boat.
I diligently read the manual over the winter months and planned out my installation. The nice part about this system is that it is completely modular and you have the ability to install some of the larger parts in different places to optimize the use of space…which always seems hard to come by on a cruising boat.
With my initial plan in place, I set about prefabbing some backing boards to mount the boost pump and pre-filters. I decided that I would place these in the AFT STB Lazarette tucked up under the cockpit coaming, hopefully out of harm’s way.
 |
| Pre-filters and boost pump in AFT STB Lazarette |

Pre-filters and boost pump mounted on a board bonded to the hull in the AFT STB Lazarette
 |
| Boost pump |
I originally planned on going without the remote valving and cleaning assembly pictured on the right. In fact, I purchased the system without it. The more I thought about it, the less I wanted to crawl into the back lazarette every time I wanted to do a freshwater flush. I bit the bullet and purchased the remote panel and mounted it right next to the main control panel. I don’t regret it for a moment. It’s very nice to have all the controls at my fingertips.
 |
| I was able to mount these on the bunk front in the AFT STB Cabin. So far it’s turned out to be a pretty good spot. |
 |
| Floorboards removed showing the dedicated thru-hull I fitted this winter. To my left is the galley and to my right is the cockpit stairs. Immediately in front of the bunk front is the pump for the air conditioning. |
 |
| Membranes mounted on back wall. (note: ¼” freshwater line not connected to membrane in this shot) Mattress and bunk boards removed. This is in behind the freshwater tank. |
The prefilters and boost pump are mounted in the AFT STB Lazarette behind this wall. I was able to snake all the lines thru along with other hoses.
 |
| This is a picture of the whipline used for pickling. Centerline and the HP pump is just to the right of this picture. |
 |
| HP pump mounted behind hot water heater in the space where a battery use to be positioned. |
 |
| HP pump with breather cap installed |
I have to say the manual for this unit was really outstanding. I was able to wire the AC for the HP pump without too much difficulty. The hardest part was swapping out the breaker and actually getting the wires onto the breaker. As you can see below, everything is pretty jammed on there. The wiring for the 12vdc boost pump was very straight forward.
 |
| Wiring into AC panel for HP pump….good time…not |

I decided to route my sample line from the remote panel up to just below the galley sink. I simply open the lower cabinet door and put the coil into the sink.
I was able to route the output water directly into the end of my freshwater manifold. I fitted a small and cheap digital meter into the line so I can double-check how much water I have made during any given session.

During the initial startup I discovered a few small leaks and was able to remedy these relatively quickly after a conversation with Charlie Hammel.
We made our first real water on July 3rd in Newport harbor.

I can’t thank the guys at Cruise RO water enough. Their customer service is bar none, the best I have come across. They really are dedicated to making sure the customer is taken care of and 100% happy. I am really glad I purchased my watermaker significantly ahead of time. This allowed me to think very carefully about where I wanted all the components before launching into it. Every time I use it, I am getting more and more comfortable with its operation. The manual is very well written and walks through everything step by step.
I am looking forward to using the system this summer in a limited capacity before we depart for the Caribbean in the fall. Our current plans have using leaving Rhode Island in late September and heading south before joining the “Salty Dawg Rally” departing from Norfolk VA for the BVI’s at the beginning of November.
We have a blog and FB page and you are welcome to follow along our family of four on
armitagesailors.blogspot.com
Or our facebook page
Best Regards,


No comments:
Post a Comment
Thank you for leaving a message!